For a location to be reviewable for our Loss Prevention Team, the camera angle must be oriented to cover the entire market or breakroom, as well as the kiosk. Ensure that the camera is strategically placed to provide complete visibility of the area.
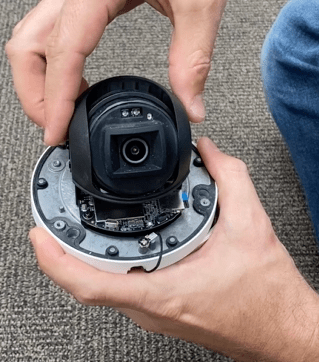
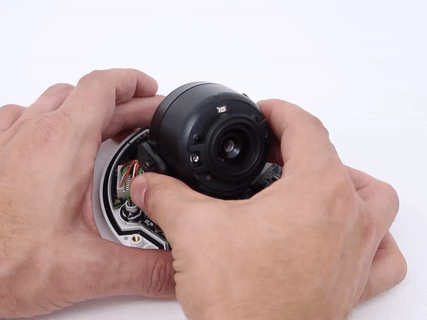
On all cameras besides the R360, aiming is done manually with the dome removed. The aim cannot be adjusted remotely through the console (i.e., it is not motorized). It's best to aim during installation, before reattaching the dome.
Here are also the steps on how to aim a camera:
Note: Do not attempt to adjust the physical lens of the R360, the camera lens does not move.
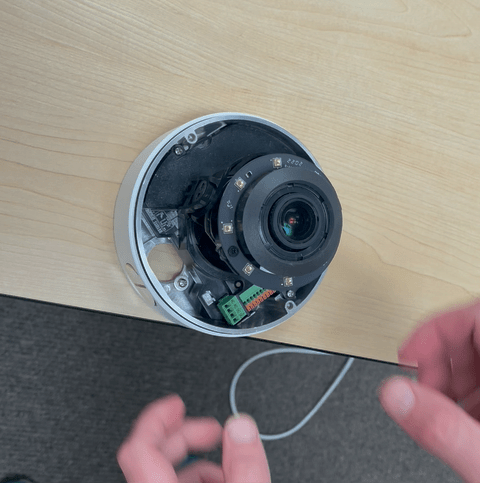
Steps for Taking the Dome Off
- Ensure that the camera location is wired appropriately.
- Remove the dome with the three Torx T10 screws (Note: R400 model uses T20 security Torx & R170/R500/R510 models use Phillips screws).
- Connect and mount the camera. Do not reattach the dome yet!
- Register the camera and view its live feed. (Note: R2-L live feed will look blurry while the dome is off.)
- Aim the camera view as described below.
- Reattach the dome.
General Aiming Notes
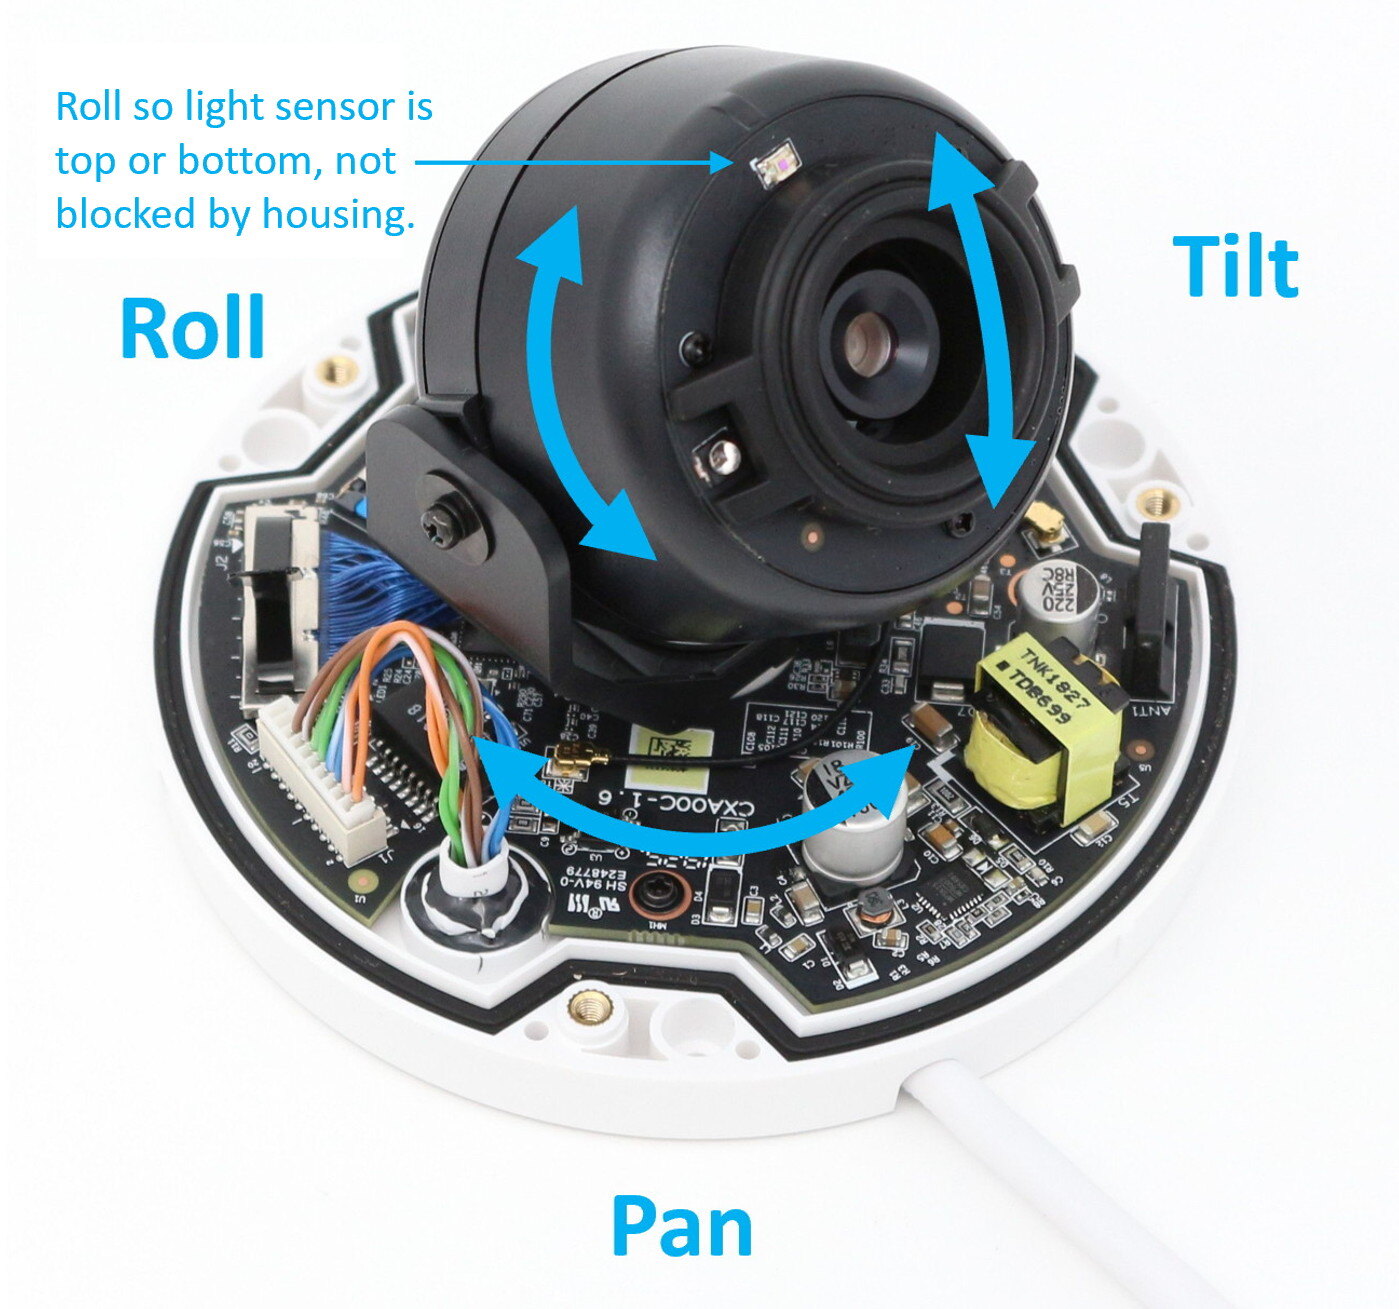
- The image module rotates on three axes to aim the view: pan, tilt, and roll. If it doesn't seem to move in the direction you want, try rotating all the way around to the other direction.
- Once aimed, rotate the module's "roll" axis to ensure that the image sensor is level, with the light sensor on top or bottom and the IR LEDs to the left and right, as shown above. Ensure that the light sensor is not blocked by the white housing cover when the dome is applied to the camera.
- Confirm that the aim is as desired by viewing a live feed from the camera.
- Cameras also feature 1.25X digital pan/tilt/zoom for fine adjustment, which can be remotely controlled in the console.
Aiming an R100/R120
Aiming the R100 and R120 are relatively the same. The below video demonstrates how to move the lens to the desired orientation.
Aiming an R2/R200/R2-180
The R2/R200 camera view can be aimed manually when the dome is removed. For this reason, it's most efficient to aim the view during installation.
Special Notes for R2-L and R2-180
- R2-L performs best when the lens is aimed through the center, not the edge, of the clear dome. The image will appear blurry when the dome is off during aiming; it will become sharp when the dome is replaced. R2-L's focus is optimized at a 90ft distance; objects nearer than about 40ft will be out of focus.
- R2-180 can mounted on a wall or ceiling. In wall mounting, it can be seen along the wall in both directions. On a ceiling it can provide a view of half the area around it; two collocated R2-180's can provide full coverage of the area. R2-180 has multiple de-warping options with different fields of view, which should be considered as the view is aimed.
Aiming an R400
Similarly to the cameras above, the R400 has a rotatable base and lens, with an added tile to the lens as well.
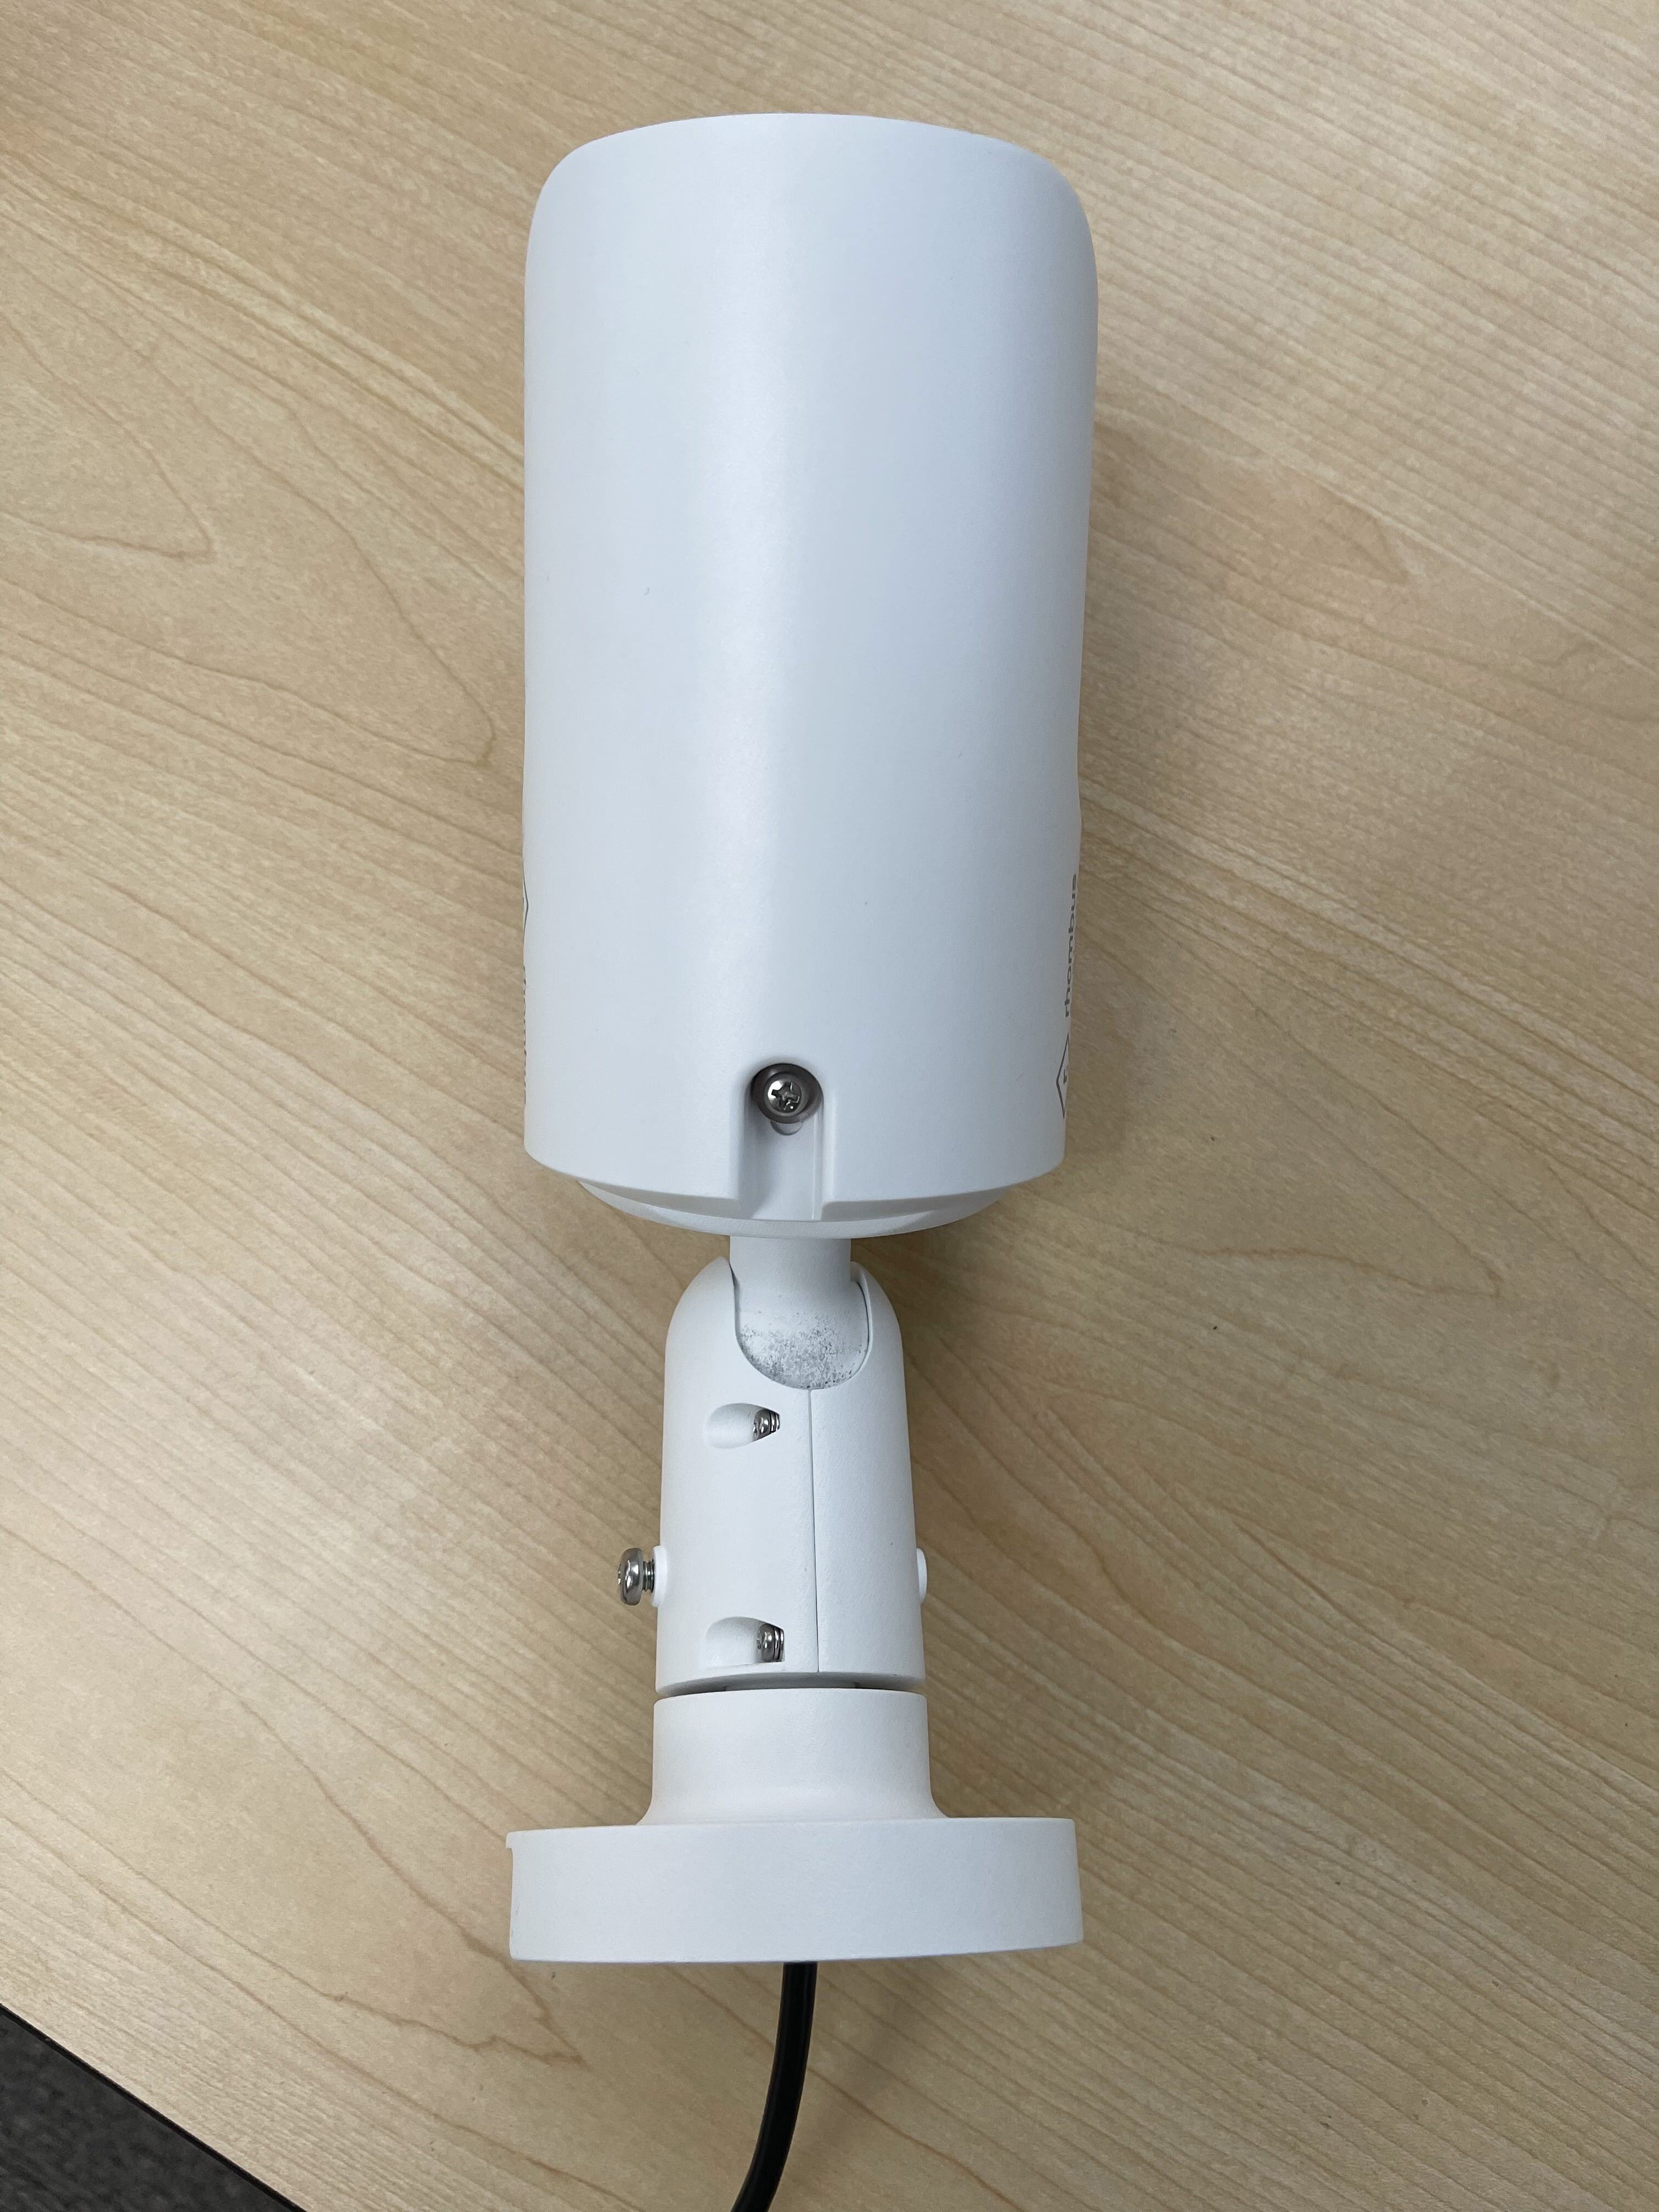
Aiming an R500
The R500 has a ball joint that allows you to rotate and angle it in any orientation you desire.

Here is a top-view image of the ball joint for the R500: