Click here to watch a step-by-step video guide on what the Report Portal is and how to use it.
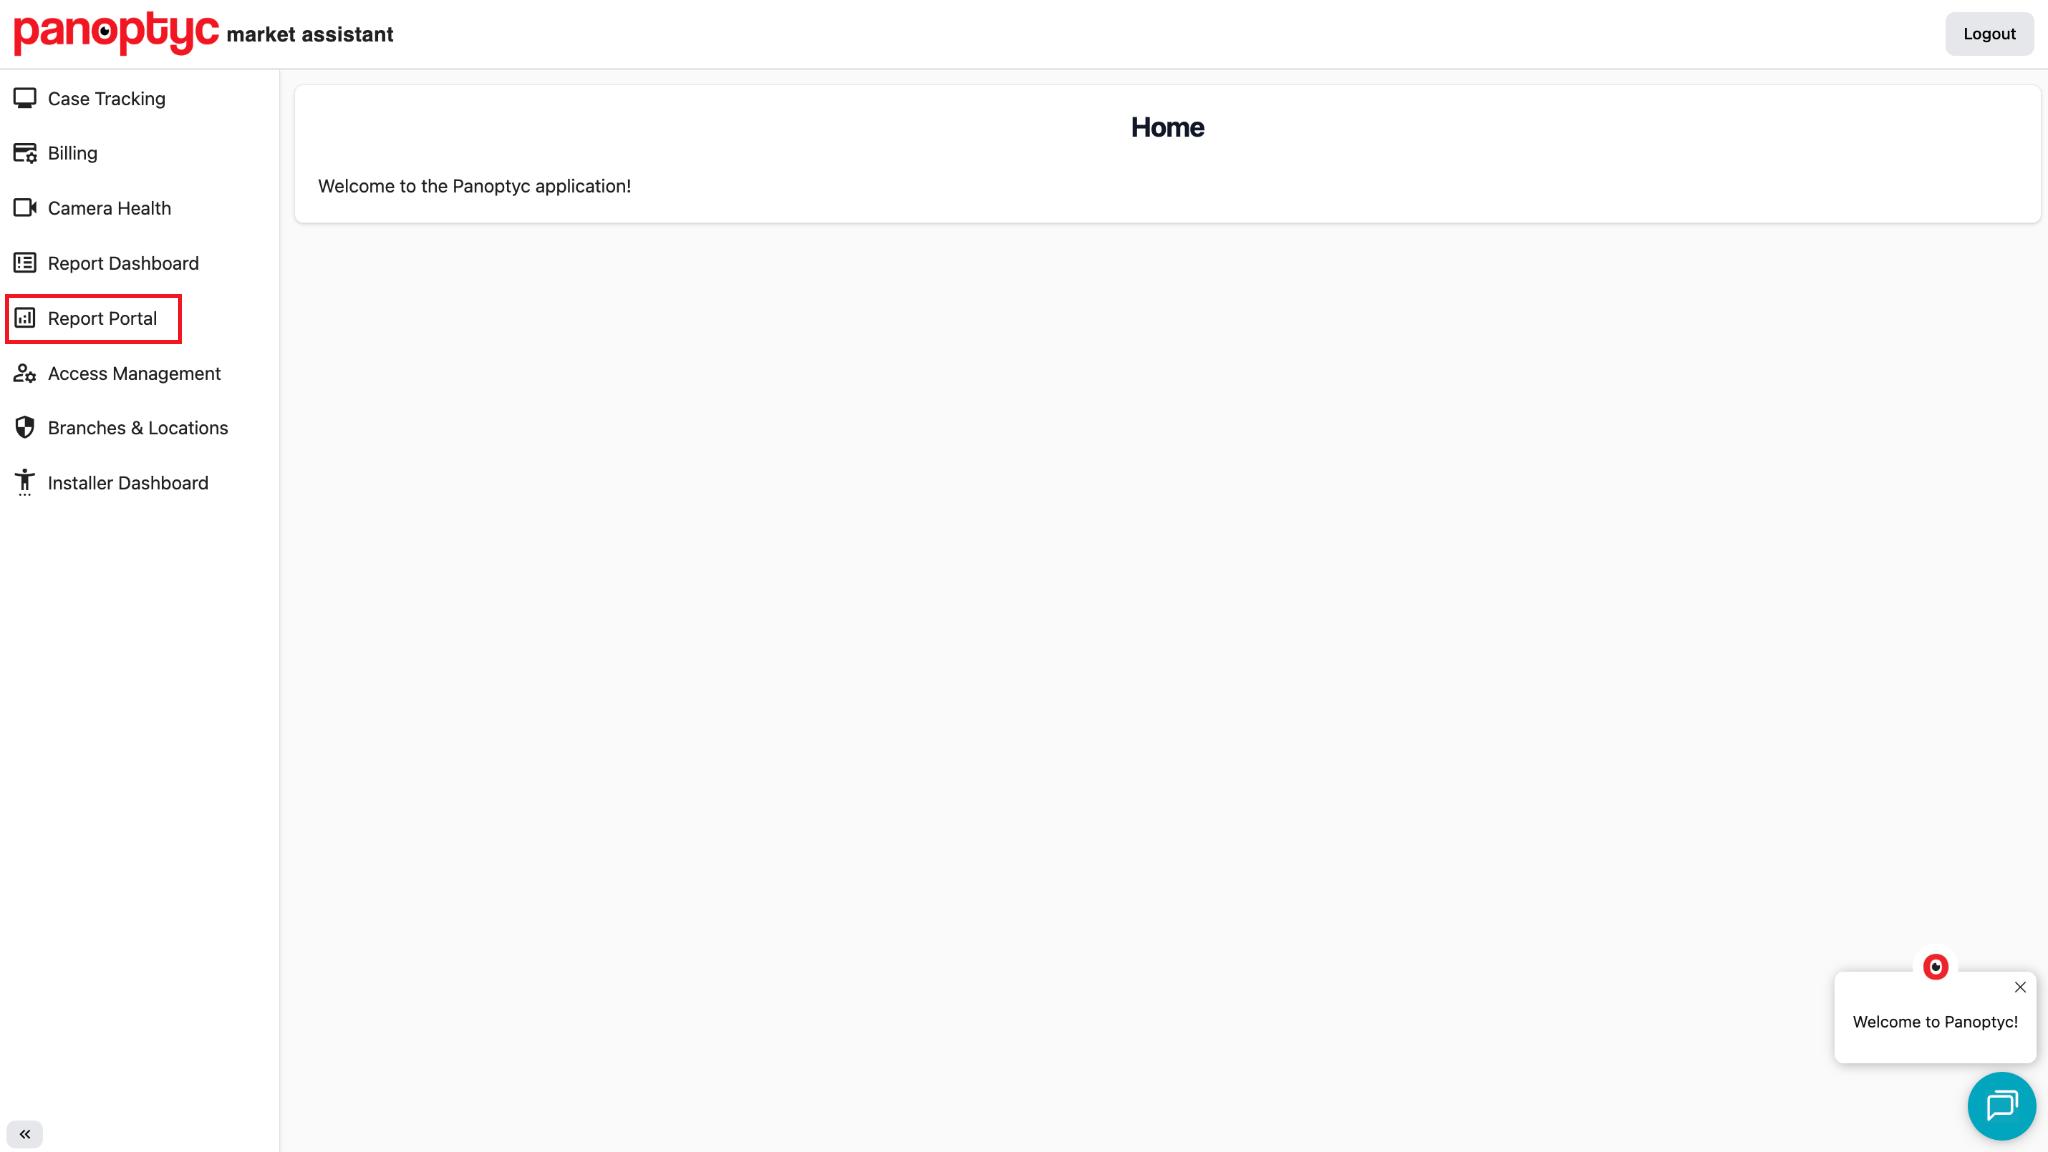
How to Access the Report Portal
To access the Report Portal, first log into your Customer Portal. Then, click on the “Report Portal” tab located near the top of the page.
Note: Depending on your account setup, you may not see all the tabs shown in the examples below.
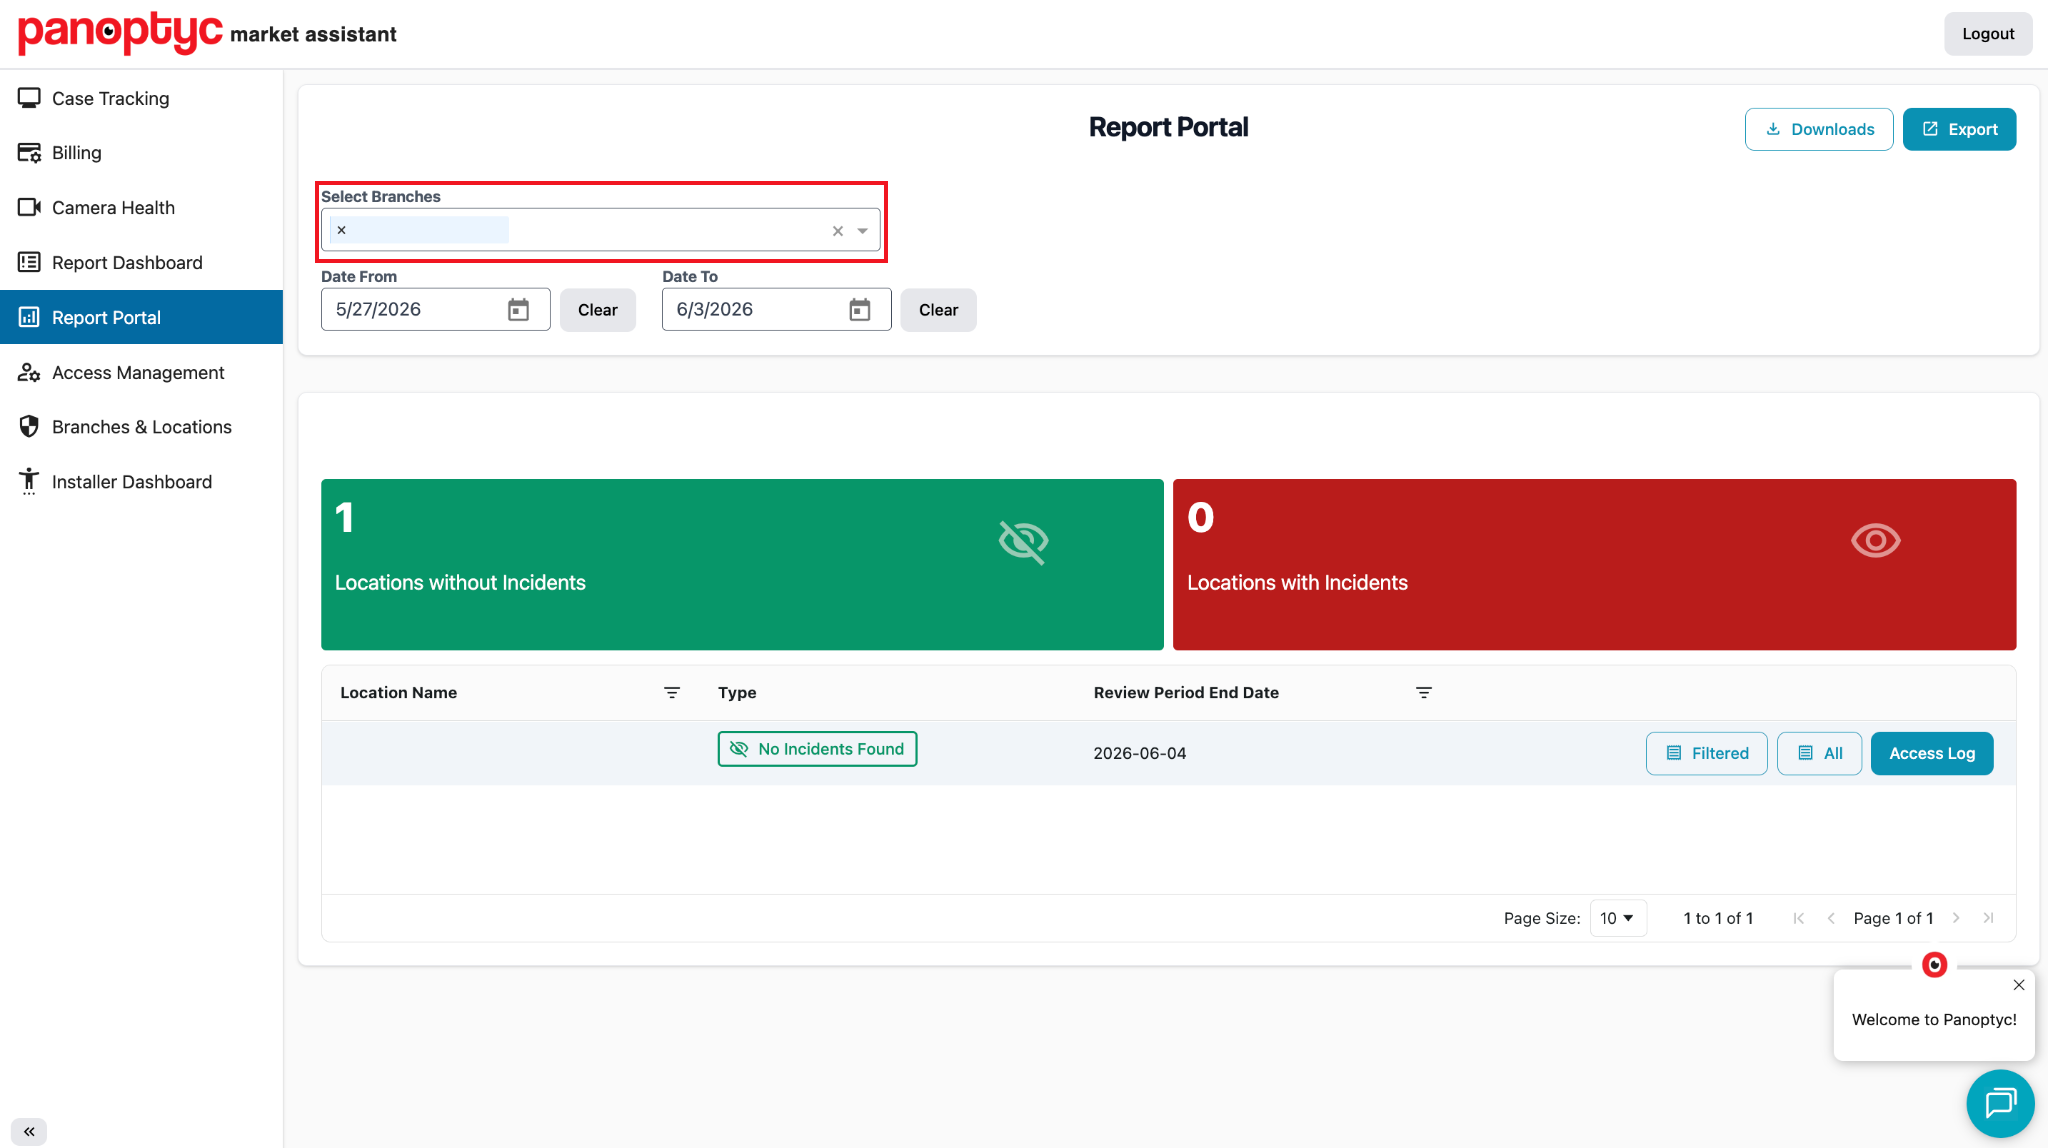
If you operate multiple branches, you can select for the one of interest just below the tabs.
Overview of Report Portal Main Page
Below the “Select Branch” dropdown, you’ll see red and green status cards displaying the number of incident and no-incident reports shared during the latest review period. You’ll also find this information reflected in the “Type” column for each location.
Note: If a location hasn’t been reviewed recently, it won’t appear in the Report Portal. To view reports for such locations, go back to the Customer Portal and click on “Suspicious Incidents Report.”

You can also review the report access logs for both branch and whitelisted users (end customers) by clicking Access Log on the right side for a given location. A pop-up will show the last report access for the location.


Viewing Incident Reports (All Incidents or Recent Incidents)
For each location, you can select their respective “All Incidents Report” or “Recent Incidents Report”. Selecting all incidents will show all of the incidents against a given location (as far back as the location was on an active plan), whereas recent incidents will only show you those from the location’s latest report.
Clicking into either All Incidents or Recent Incidents, you will be redirected to a new page that will display key information for each incident.
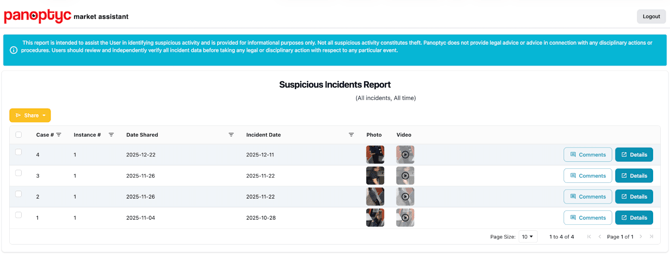
- Case: A unique identifier assigned to the individual involved in the incident.
- Instance: Indicates the sequence of incidents associated with the individual (e.g., first, second, etc.).
- Date Shared: The date the incident report was shared with you.
- Incident Date: The actual date the incident occurred.
- Photo: Click to view an image of the suspected offender.
- Details: Clicking into “Details” from the report will reveal the main information you need to review, share, and take action on an incident. Here, you will find a photo of the individual, an incident description, a link to view and/or share the footage, and the respective transaction report.

- Videos: Click to open a pop-up window and view the incident recording directly within the app. Note: Some videos may require you to view outside of the app via the provided password and video link.
- Comments: A brief description of the incident and individual, written by the Loss Prevention team.
- Report: Click to view the transaction report linked to the incident.
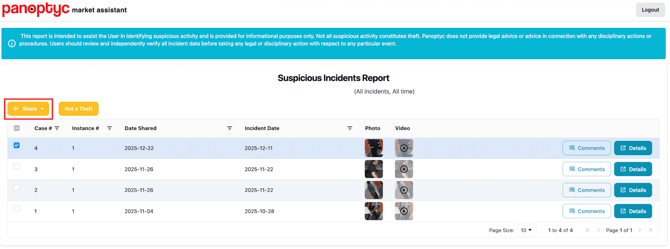
Within the All Incidents Report or Recent Incidents Report, you can click on Select on the upper left to check reported incidents that you would like to correct as “Not a Theft”.
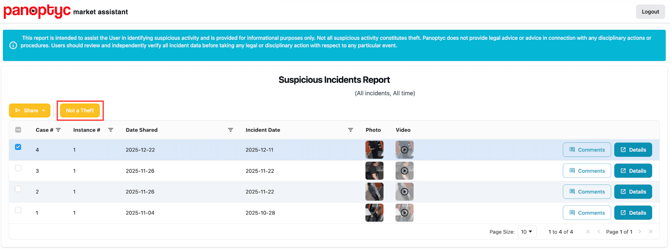
On the upper left, you can click Share to forward all, or selected, incidents to your end customer(s) for review. If your end customer is not already whitelisted for accessing reports, you can whitelist them as part of the sharing process, or they will have an option to request access from you when they click on the report link.